It's November - time for varenyk-making parties! Some parents who live near our school location volunteer their homes for us to gather in during school hours, so that we can make varenyky and vushka for sale at our holiday bazaar.
Some of our Ukrainian school's varenyk party hostesses use the dough recipe from UkraiVin (see below). We like this recipe because it turns out soft, tender dough. It also has the advantage of being vegan, or "pisne", for Sviat Vechir (for those who adhere to the no-dairy, no-egg definition of "pisne" - some families are more liberal in defining that word).
This recipe is made in a food processor, rather than a mixer. I took photos at one of our parties, for those who would like to try it at home.
UkraiVin – Cooking Ukrainian: Dough for Vushka and Varenyky (mushroom-, potato- or cabbage-filled dumplings)
Prep time: 5 minutes
Yield: 72 vushka (using half of the dough);
OR
50-55 varenyky (using all of the dough)
Ingredients:
3 cups all-purpose flour
½ teaspoon salt
3 tablespoons vegetable oil
1 cup cold tap water
- In food processor (with serrated blade), combine flour, salt and vegetable oil.
- Slowly add the water through the feeder until a ball of dough is formed (takes approximately 4 minutes).
- Take dough out of food processor and transfer to a bowl.
- Cover and let stand for approximately 20 minutes.
Note: if weather is humid, you may add a bit more flour.
Note: dough may be refrigerated overnight; let come to room temperature on kitchen counter several hours before rolling out dough for making vushka or varenyky.
For printable recipe, click here.
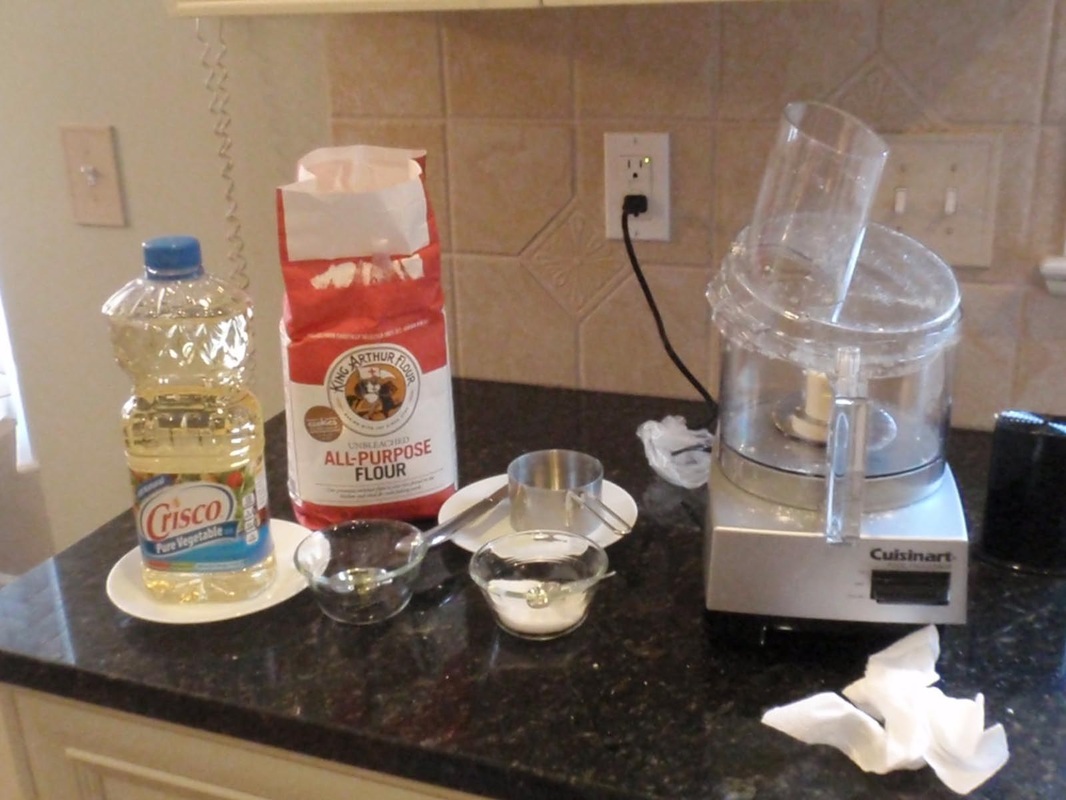
Our hostess has the dough ingredients ready to go, above. She has already made a couple of batches that are resting and will be ready for us to start rolling out soon.
Note the King Arthur flour bag - many people are big fans of this brand, for varenyk dough as well as for other cooking and baking.
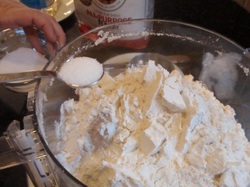
Here, 3 cups of flour are measured into the food processor bowl.
1/2 tsp. of salt is added to the flour.
Note the King Arthur flour bag - many people are big fans of this brand, for varenyk dough as well as for other cooking and baking.
Here, 3 cups of flour are measured into the food processor bowl.
1/2 tsp. of salt is added to the flour.
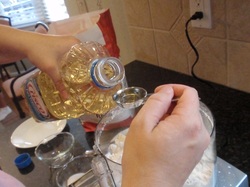
Next, add the 3 Tbsp. of vegetable oil.
Close the lid of the food processor.
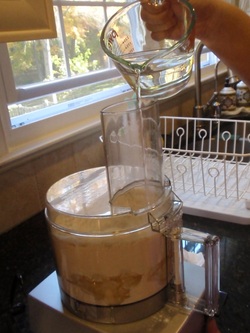
Measure out 1 cup of cold tap water.
Turn on the processor, and pour the water through the feed tube, with the processor running, as in the photo below.
Close the lid of the food processor.
Measure out 1 cup of cold tap water.
Turn on the processor, and pour the water through the feed tube, with the processor running, as in the photo below.


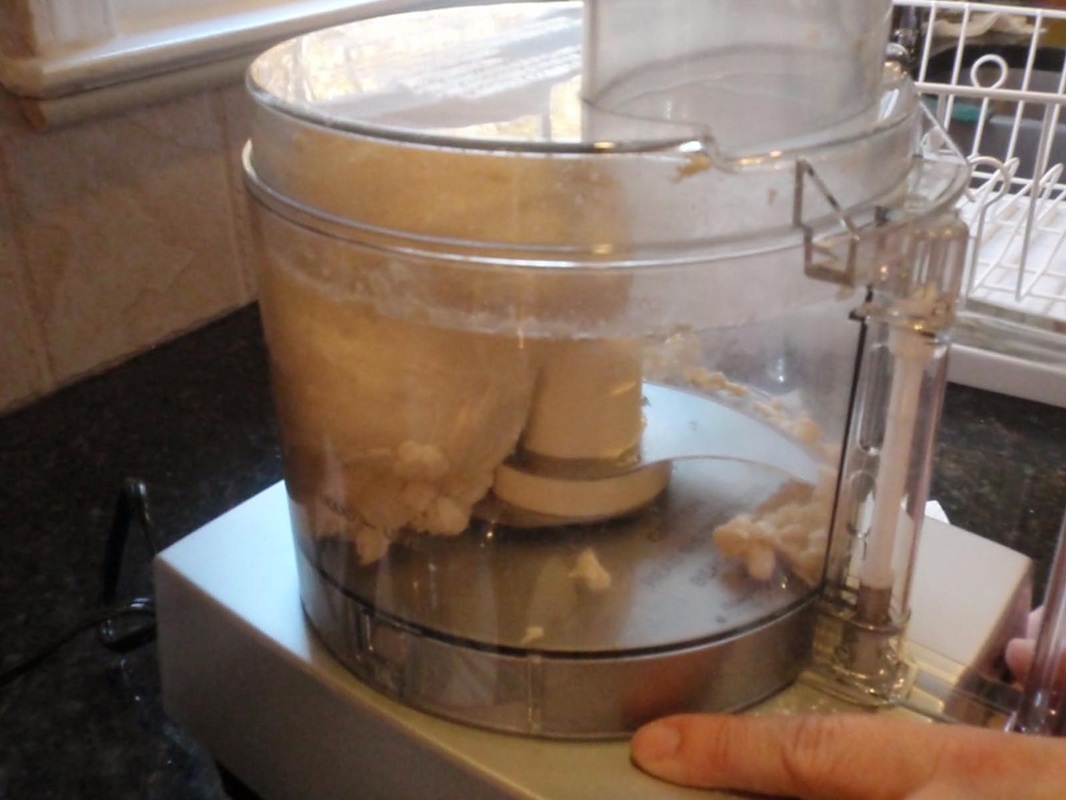
The dough will start off lumpy and uneven, and after a few minutes will eventually come together into a ball.
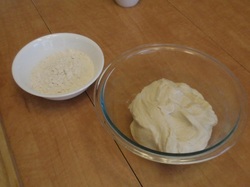
Put the dough into a bowl, and cover with something to keep it from drying out - plastic wrap or a dishcloth works just fine.
Let it rest for 20 minutes - this gives the gluten time to develop.
Let it rest for 20 minutes - this gives the gluten time to develop.
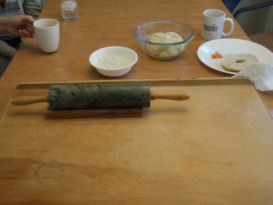
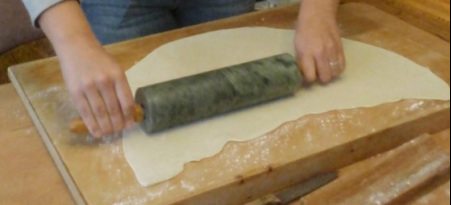
You can use a smooth tabletop for rolling out the dough, or a board with a lip that won't slide around on the table. A large cutting board with a dishcloth underneath (to keep it from sliding) will work well too.
A marble rolling pin is nice, because you can use the weight of it to do some of the work for you.
In this picture above, you can also see some of the yummy brunch that our hostess provided us :)
A marble rolling pin is nice, because you can use the weight of it to do some of the work for you.
In this picture above, you can also see some of the yummy brunch that our hostess provided us :)
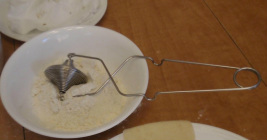
You DEFINITELY want a bowl of flour nearby - you will need to flour your rolling surface liberally, so that the dough doesn't stick and tear.
Also flour your rolling pin.
In this picture is a nifty little gadget called a flour wand. You'll be just fine without it - just use your hand to strew the flour where you need it to go. But the flour wand is handy because it distributes the flour more precisely and evenly. I got mine at the King Arthur Flour website:
http://www.kingarthurflour.com/shop/items/flour-wand
Roll about half of the dough batch at a time - leave the other half covered in the bowl.
Don't be afraid of flouring a LOT - the dough is fresh and tender and will stick to the board and the rolling pin, given half a chance! Put flour on your rolling surface, and on your rolling pin. Start rolling, flip the dough, and flour your rolling surface again.
It's best to roll from the center out, away from you, moving your dough around as needed. Moving the dough around also allows you to make sure that the dough isn't sticking to the board.
Roll until the dough is about 1/8 inch thick (or about the thickness of two credit cards :) - you want the varenyky to be delicate and tender, not too thick. The dough in the photo above is almost there.
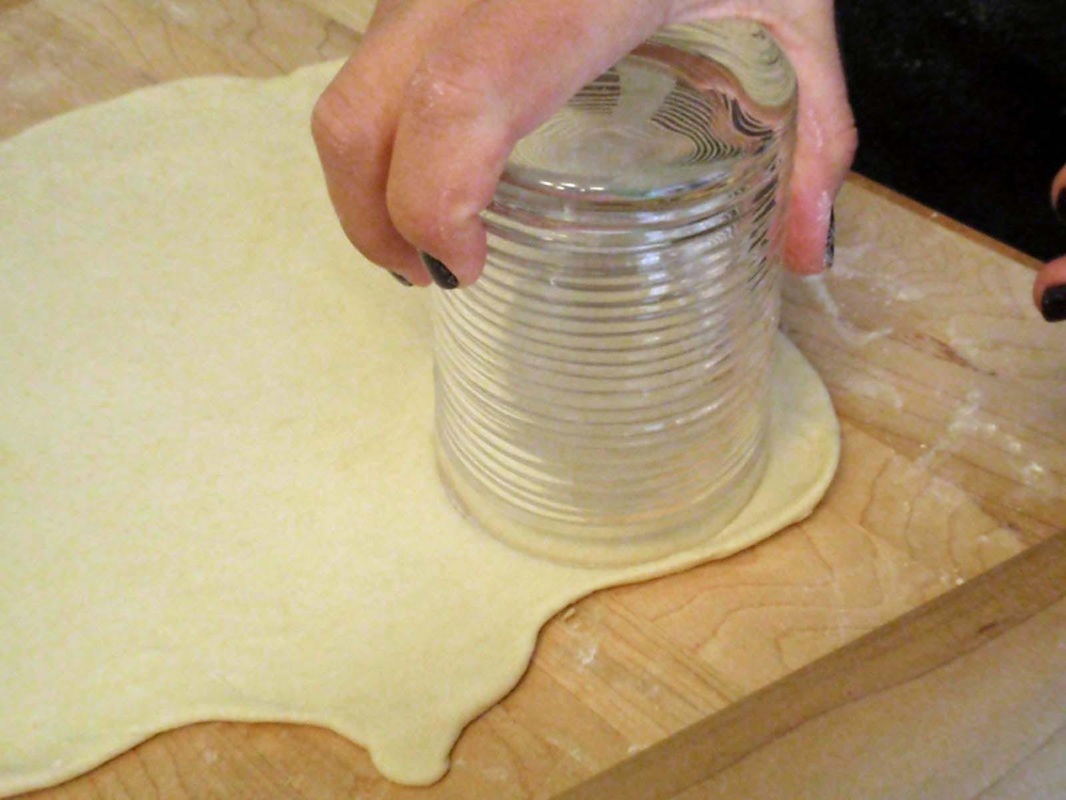
For varenyky, you want to cut the dough in a round shape. A glass from your kitchen works just fine - pick one that has the size you want (we're using a glass that's about 3 inches in diameter), and an edge that isn't too rounded, so that it cuts well. An empty can works well too, and has sharper edges to cut more smoothly.
Put your filling (we're using potato here) in the center of the dough circle. Don't put in too much - you don't want it leaking out during cooking. We're using about 1 1/2 - 2 Tablespoons.
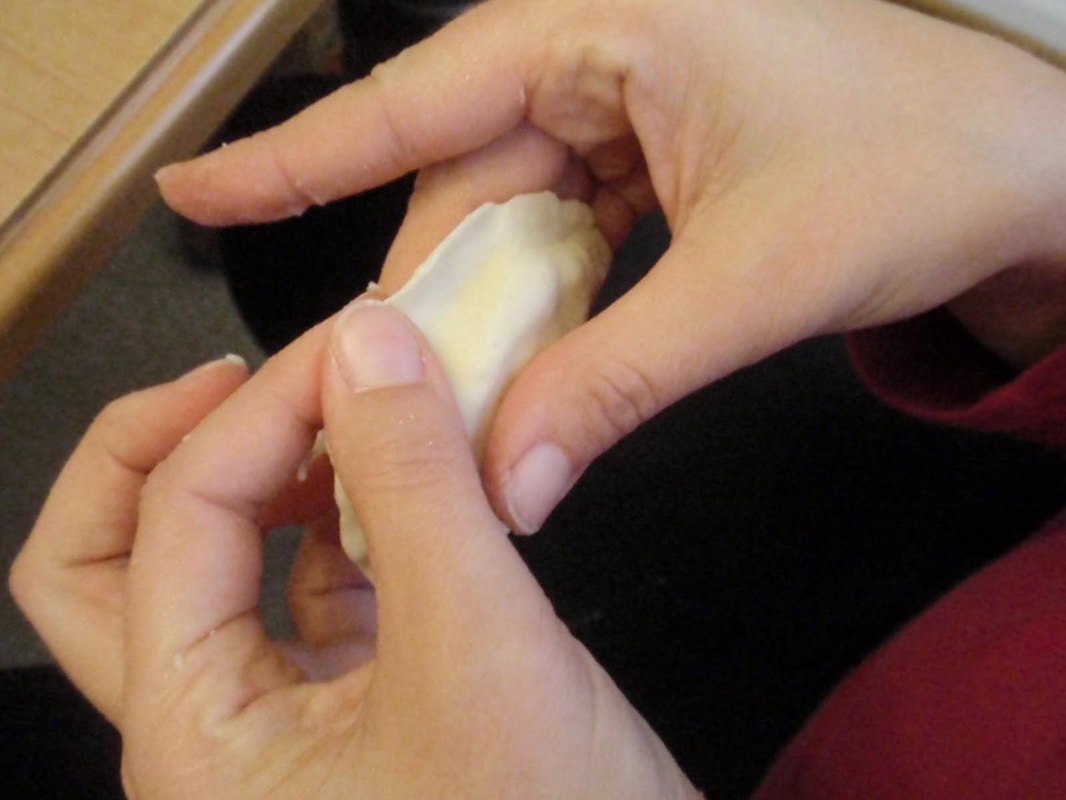
Fold the dough in half over the filling, and pinch the dough closed around the edges, so that the filling is sealed well inside.
Fold the dough in half over the filling, and pinch the dough closed around the edges, so that the filling is sealed well inside.
If the dough has gotten dried out, you can dip your fingers in water and then pinch. Alternatively, flip the dough circle so that the underside is up, and then fill and pinch closed - the surface that was face-down on the plate will probably be more moist. Make sure the edges are securely sealed.
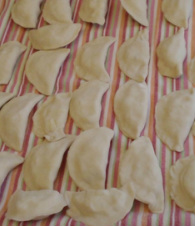
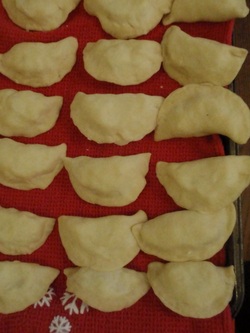
Put the finished varenyky on something they won't stick to - we're using cookie sheets covered with dish cloths.
You may want to cover them with another dish cloth, or plastic wrap, so that they don't dry out too much before you're ready to cook them.
Don't stack them on top of each other, as they will tend to stick.
You may want to cover them with another dish cloth, or plastic wrap, so that they don't dry out too much before you're ready to cook them.
Don't stack them on top of each other, as they will tend to stick.
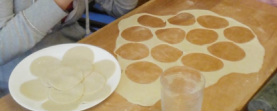
Making vushka? These are mushroom-filled dumplings that look like ravioli, and they are put into borshch on Sviat Vechir (Christmas Eve) and Shchedryi Vechir (Epiphany). This is a great favorite in many families, especially among the kids. The name "vushka" or "ushka" means little ears (presumably because they look vaguely like ears).
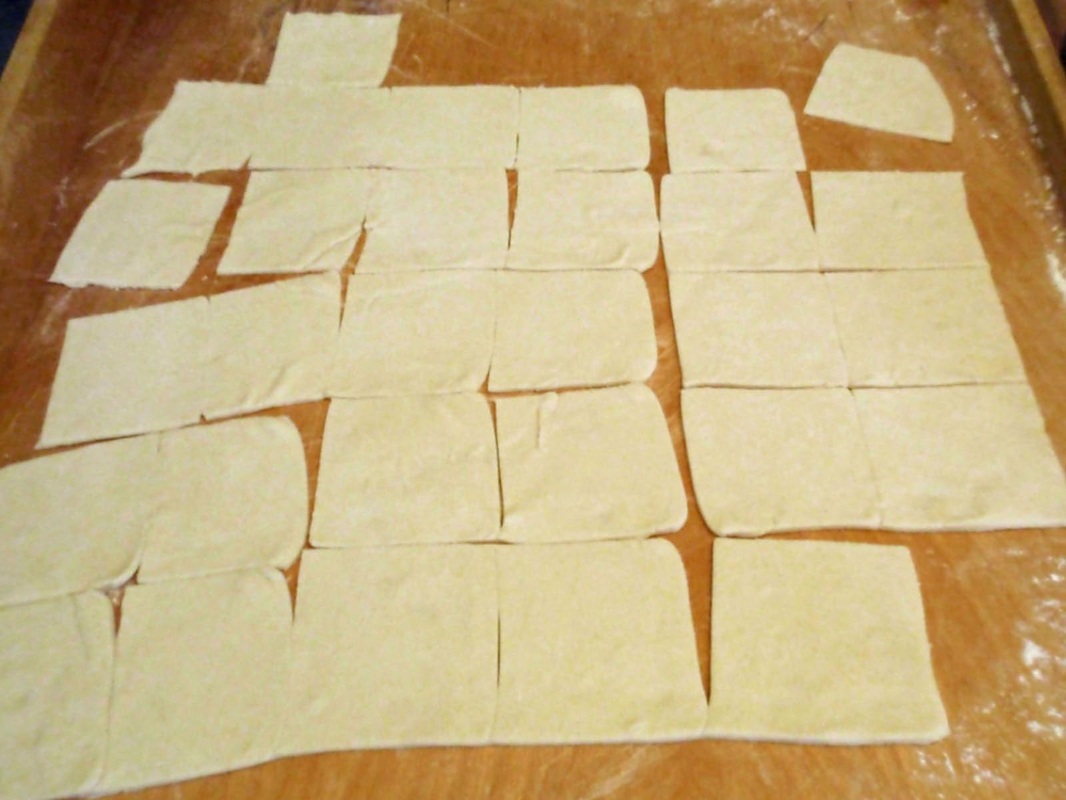
Use the same dough you use for varenyky, and roll it out the same way. But instead of circles, cut it into squares (about 1 1/2 inches square is good).
(Some people use smaller circles for vushka, but to me that just looks like small varenyky instead of vushka).
Use the same dough you use for varenyky, and roll it out the same way. But instead of circles, cut it into squares (about 1 1/2 inches square is good).
(Some people use smaller circles for vushka, but to me that just looks like small varenyky instead of vushka).

Vushka use a mushroom filling - and that filling will be the subject of the next blog entry.
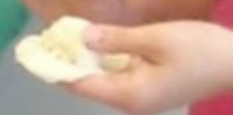
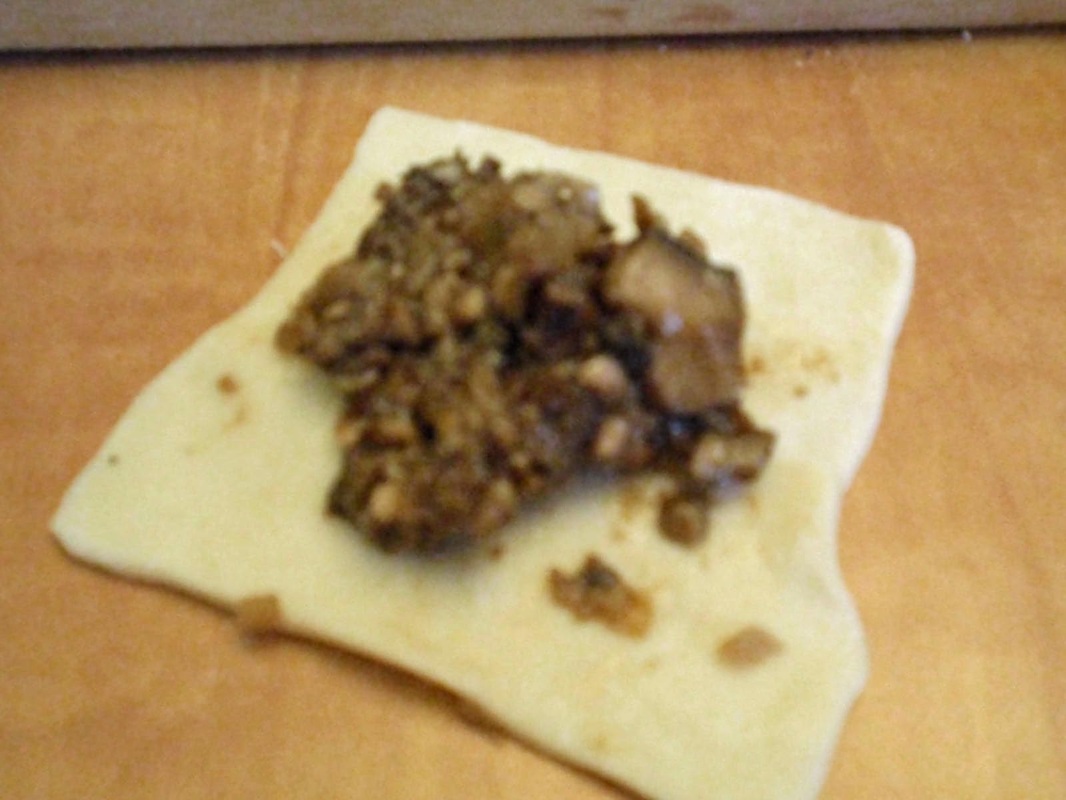
Put the mushroom filling in the center of your dough square.
Fold the square in half diagonally, so that you make a triangle, as in the right-most photo above. Pinch the edges shut, just as you would for a varenyk. You may want to keep a napkin or paper towel ready to wipe your fingertips, so that you don't get too many specks of the filling on the exterior of your dough (but it's no big deal if you do - it will just wash away when you cook it).

Bring two corners of your vushko together and pinch them together, so that it looks like a ravioli. (You want the two corners adjacent to the folded edge, by the way).
See the joined pair of vushka in the picture at right? That's called a "shchastia" - good fortune. If you find that in your bowl of borshch on Christmas Eve, you will have good luck in the coming year.
Want to make a "shchastia"? Take one completed vushko, and one whose corners have not yet been pinched together. Thread one corner of the second vushko (you may want to elongate it a little to make this easier) through the "loop" of the first vushko. Now bring together the corners of the second vushko and pinch together. That's all there is to it.
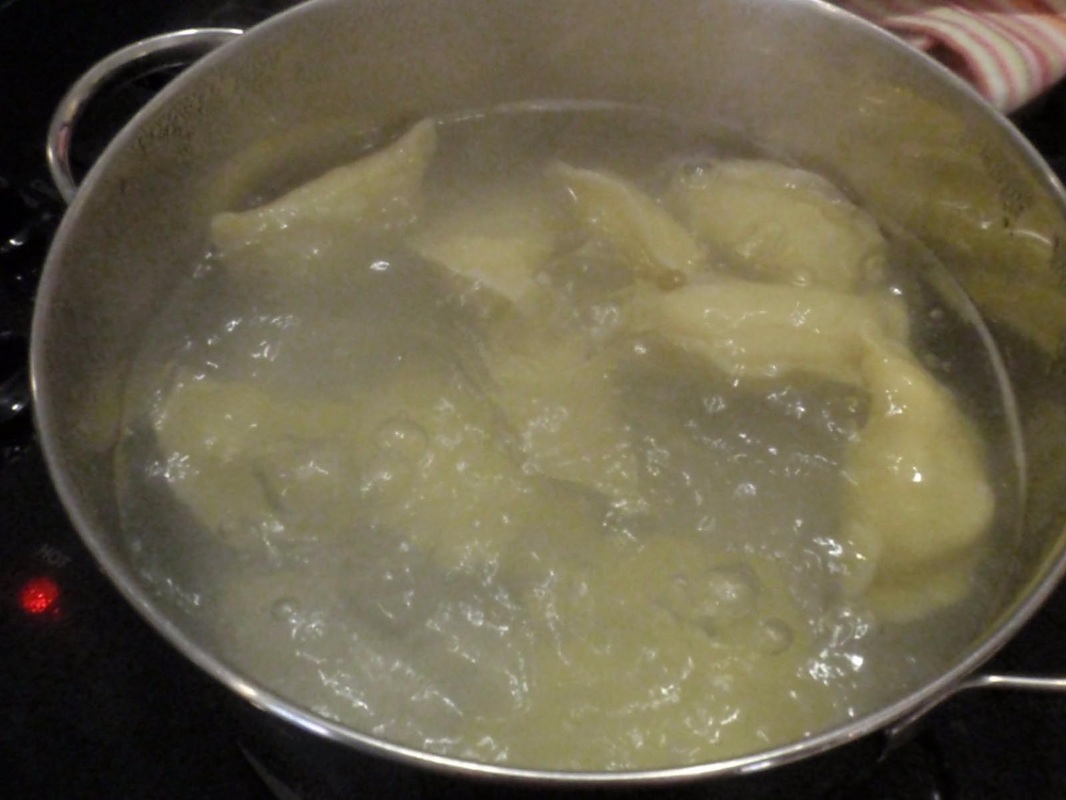
Ready to cook the varenyky or vushka?
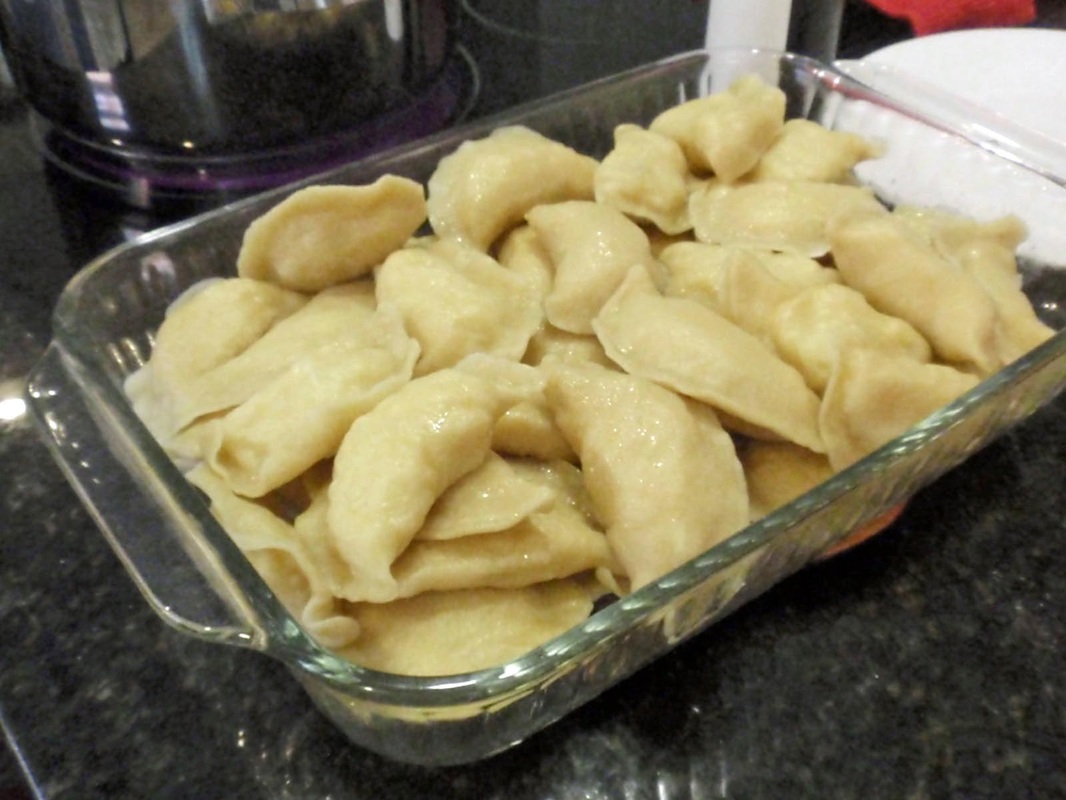
Boil a large pot of water, with a pinch of salt and a tablespoon of oil. Put in the varenyky or vushka, and simmer for 5 minutes or so, until they float. Lift out with a strainer or slotted spoon, and let them rest and cool down a bit. Spray or oil them so that they don't stick together (to oil them, put some oil in the glass pan or whatever you're using, put in the varenyky, then flip them to coat the other side).
You can now eat them fresh - yum!
Or you can freeze them for later. This is what we are doing, since we want to sell them at our bazaar so that people can put them in their home freezers and have them ready for the holidays. Our varenyk-party volunteers usually buy most of what they make and take them home for their own holiday table (a good reason to volunteer!)
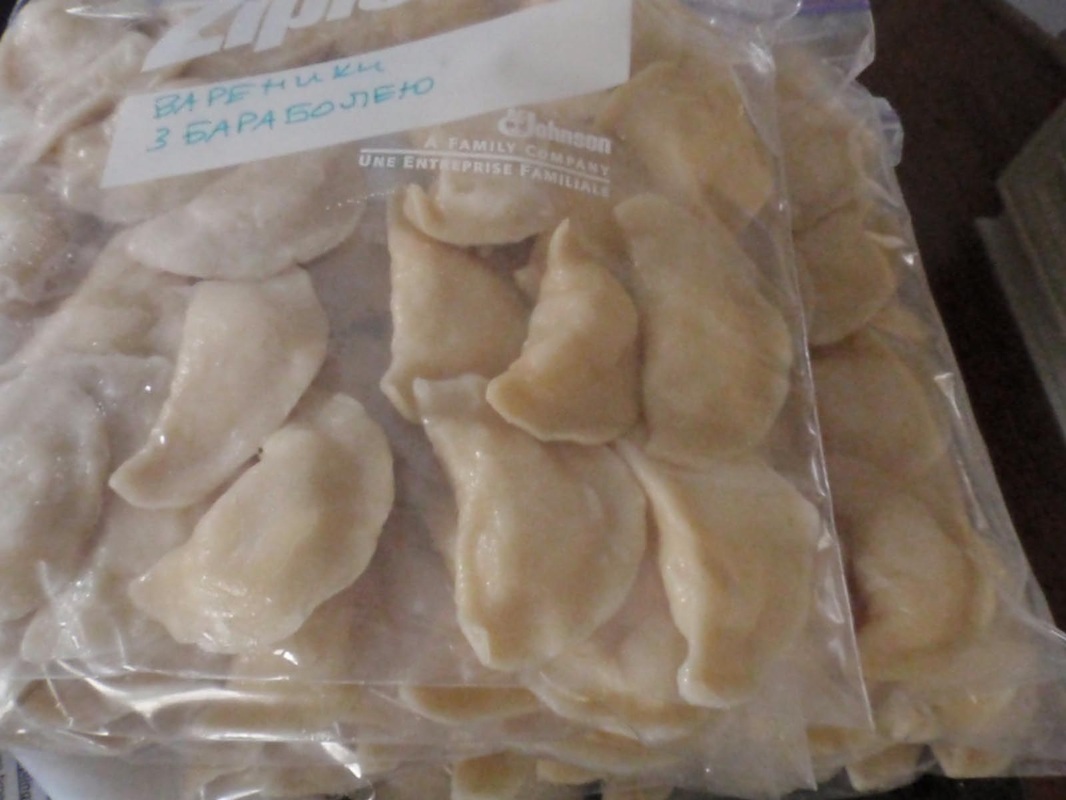
If you're freezing the varenyky or vushka, make sure they're completely cooled. Then place about 2 dozen in a large freezer bag (arrange neatly in rows), label, and put in your freezer. We put 25 in each bag, and sell them for $15.
To thaw, you can either put them in boiling water until they float, or use a vegetable steamer for about 3 minutes (as they're already cooked). Serve varenyky with sour cream, or if you're serving them for Christmas Eve dinner and want to keep it vegan ("pisne"), serve with mushroom sauce. To serve vushka, thaw them and then place into a bowl of borshch.
Some people ask why we bother cooking the varenyky or vushka before freezing them. If you're doing this at home, you can get away with freezing them raw. But make sure they don't start thawing before you get them into the cooking water, or they will stick like crazy, and then tear open as you try to separate them - you'll end up with kasha instead of varenyky!
Since we are selling these varenyky and vushka at a bazaar, that means they have to be transported to the bazaar site and then to the buyer's home before they make it into the freezer. So cooking them before freezing helps make sure that they will make it onto the dinner table in good shape.
Smachnoho!
Boil a large pot of water, with a pinch of salt and a tablespoon of oil. Put in the varenyky or vushka, and simmer for 5 minutes or so, until they float. Lift out with a strainer or slotted spoon, and let them rest and cool down a bit. Spray or oil them so that they don't stick together (to oil them, put some oil in the glass pan or whatever you're using, put in the varenyky, then flip them to coat the other side).
You can now eat them fresh - yum!
Or you can freeze them for later. This is what we are doing, since we want to sell them at our bazaar so that people can put them in their home freezers and have them ready for the holidays. Our varenyk-party volunteers usually buy most of what they make and take them home for their own holiday table (a good reason to volunteer!)
If you're freezing the varenyky or vushka, make sure they're completely cooled. Then place about 2 dozen in a large freezer bag (arrange neatly in rows), label, and put in your freezer. We put 25 in each bag, and sell them for $15.
To thaw, you can either put them in boiling water until they float, or use a vegetable steamer for about 3 minutes (as they're already cooked). Serve varenyky with sour cream, or if you're serving them for Christmas Eve dinner and want to keep it vegan ("pisne"), serve with mushroom sauce. To serve vushka, thaw them and then place into a bowl of borshch.
Some people ask why we bother cooking the varenyky or vushka before freezing them. If you're doing this at home, you can get away with freezing them raw. But make sure they don't start thawing before you get them into the cooking water, or they will stick like crazy, and then tear open as you try to separate them - you'll end up with kasha instead of varenyky!
Since we are selling these varenyky and vushka at a bazaar, that means they have to be transported to the bazaar site and then to the buyer's home before they make it into the freezer. So cooking them before freezing helps make sure that they will make it onto the dinner table in good shape.
Smachnoho!
 RSS Feed
